
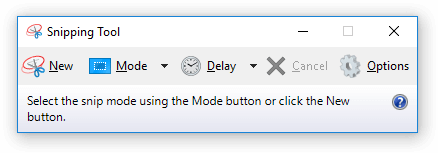
In a perfect world, everything would function properly all the time. But we are living in a perfect world and support requests are inevitable. When submitting a support request, providing adequate information helps us resolve the issue faster and more efficiently. Oftentimes, seeing the exact message or behavior that is being shown tells us exactly what is going on, allowing us to fix it right away! Windows happens to have a handy dandy built in tool called Snipping Tool that lets you capture a specific area of your screen. Capturing errors with the Snipping Tool is the best and easiest way to make sure you are getting optimal support.
The Snipping Tool has several modes allowing you to select a rectangle area, a free form area, or an entire application window. In addition, it allows you draw directly onto the clipping to highlight or mark important areas. Using the tool is simple and intuitive. Simple select your mode, then select New, then drag corner to corner to select the area you went, then manipulate the image as you set fit. You can then save it, copy it, or attach it directly to an email.
You should use this tool rather than the print screen feature on your screen for a few reasons. The first reason is that it allows you only select the pertinent parts of the issue and easily save and attach it as an image file. The second reason is that the print screen feature often grabs your entire display spread across all monitors. Pasted into an email, this leaves the resulting image very small and difficult or impossible to read.
Using this tool is recommended whenever any message or behavior related to an issue is directly visible on the screen. Providing that will allow support to assist you faster and more accurately.